Another small fun project for recycling! These are perfect for little gifts and a cute way to send your jewelry to customers… it not only give a nice shell of protection to the treasures you put inside, its cost free, customizable and keeps recycling on the mind ❤
All you need are – toilet paper rolls – decor ( i used stamps) – Tape or glue
Step one: decorate your roll. I used some of my stamps, but don’t limit yourself to just that… you can use old paper, photographs, tissue paper, paint,sharpie and whatever else you have laying around to decorate. Mod podge and some pattered paper would be fun!
Step two: Once your roll is decorated to your liking, fold down the corners on one end, making it look like little cat ears. Make sure they fold over each other so there is no open gap, and tape down ( you can also glue the end down) * side note… if you dont like the look of regular tape, they sell something called washi tape? that comes in all sorts of amazing patterns!
-Step three: When you have some side sealed and taped down, wrap and place your item/treasures inside the box ( i wrapped up some earrings) and seal the other end, again making sure they fold over one another so there are no gaps.
– Step four… your done!
Again these are wonderful for gift giving and product packaging. Small, sturdy, cheap, recycled pill boxes…. you can use old paper towel rolls too! those are larger and can fit a bit more than TP rolls.
Holy crap I wanna do this.
This is actually great if you have a jar spell that gets buried! It’ll decompose rather than glass that will just take up space and turn into trash overtime. 🙂
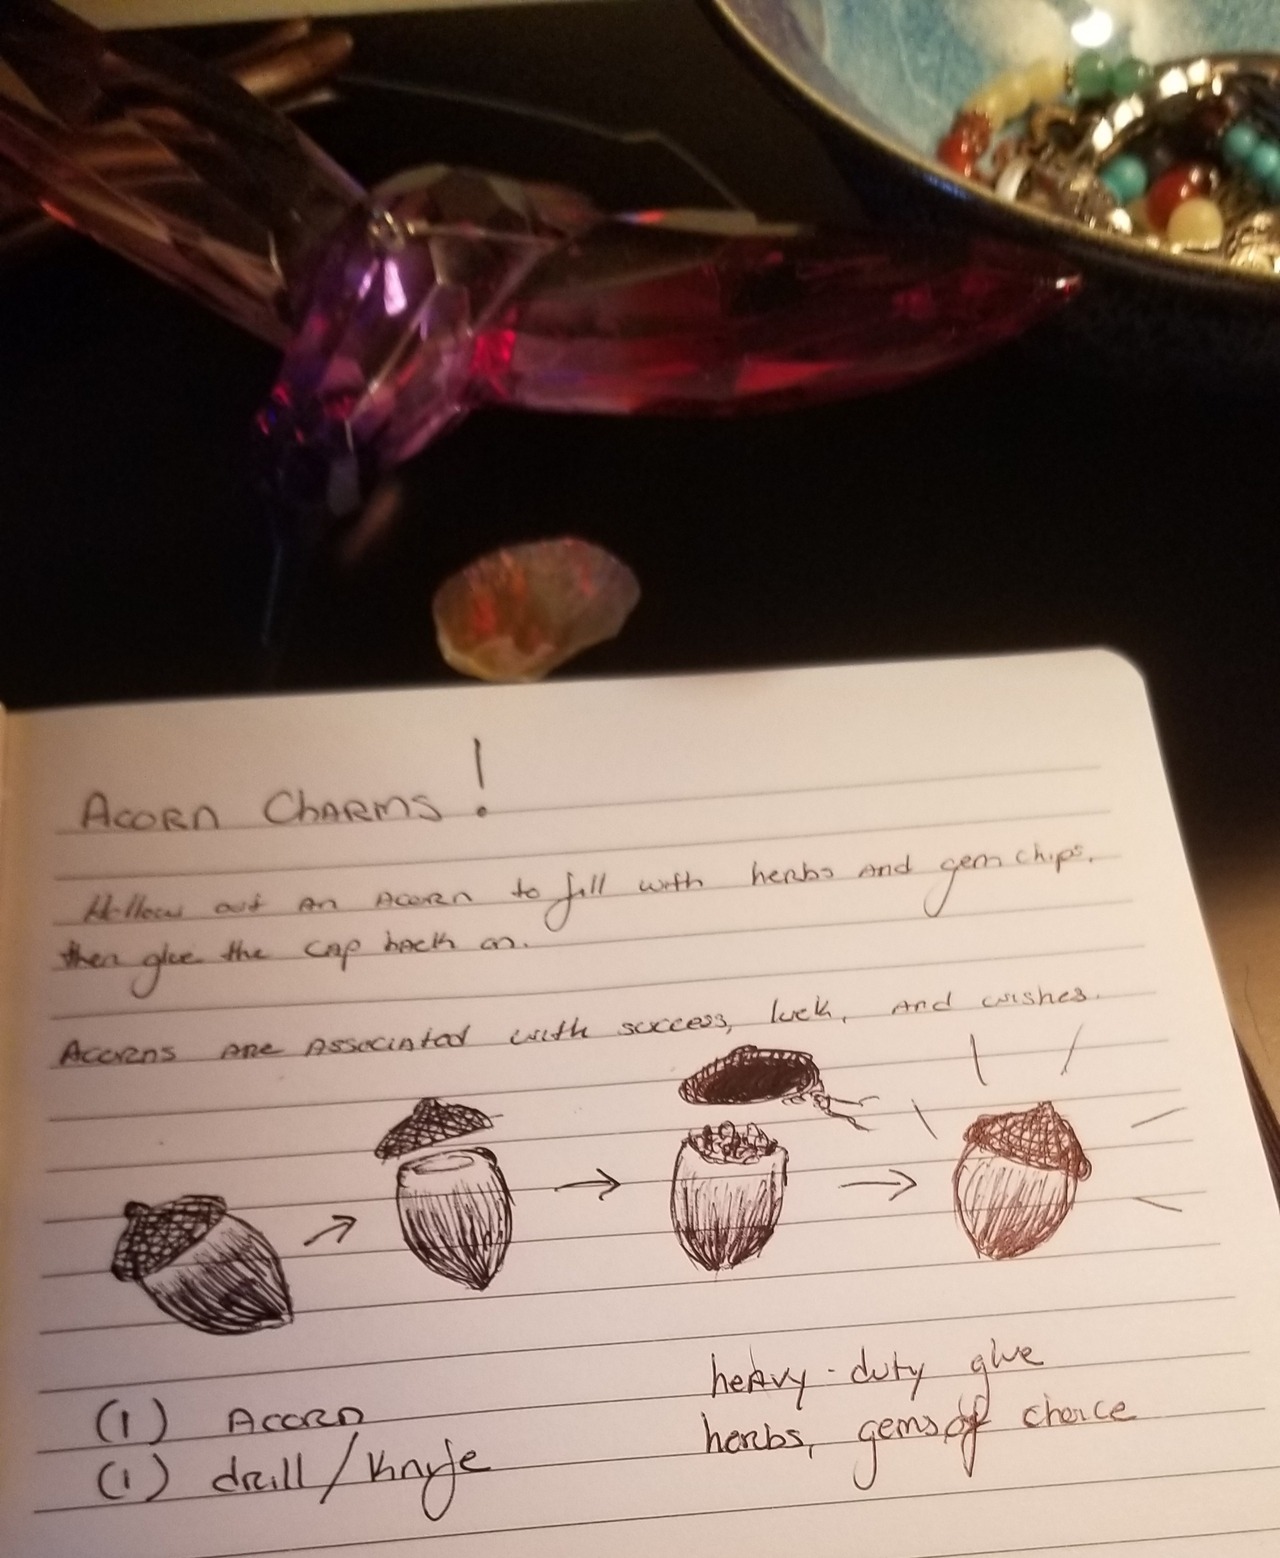
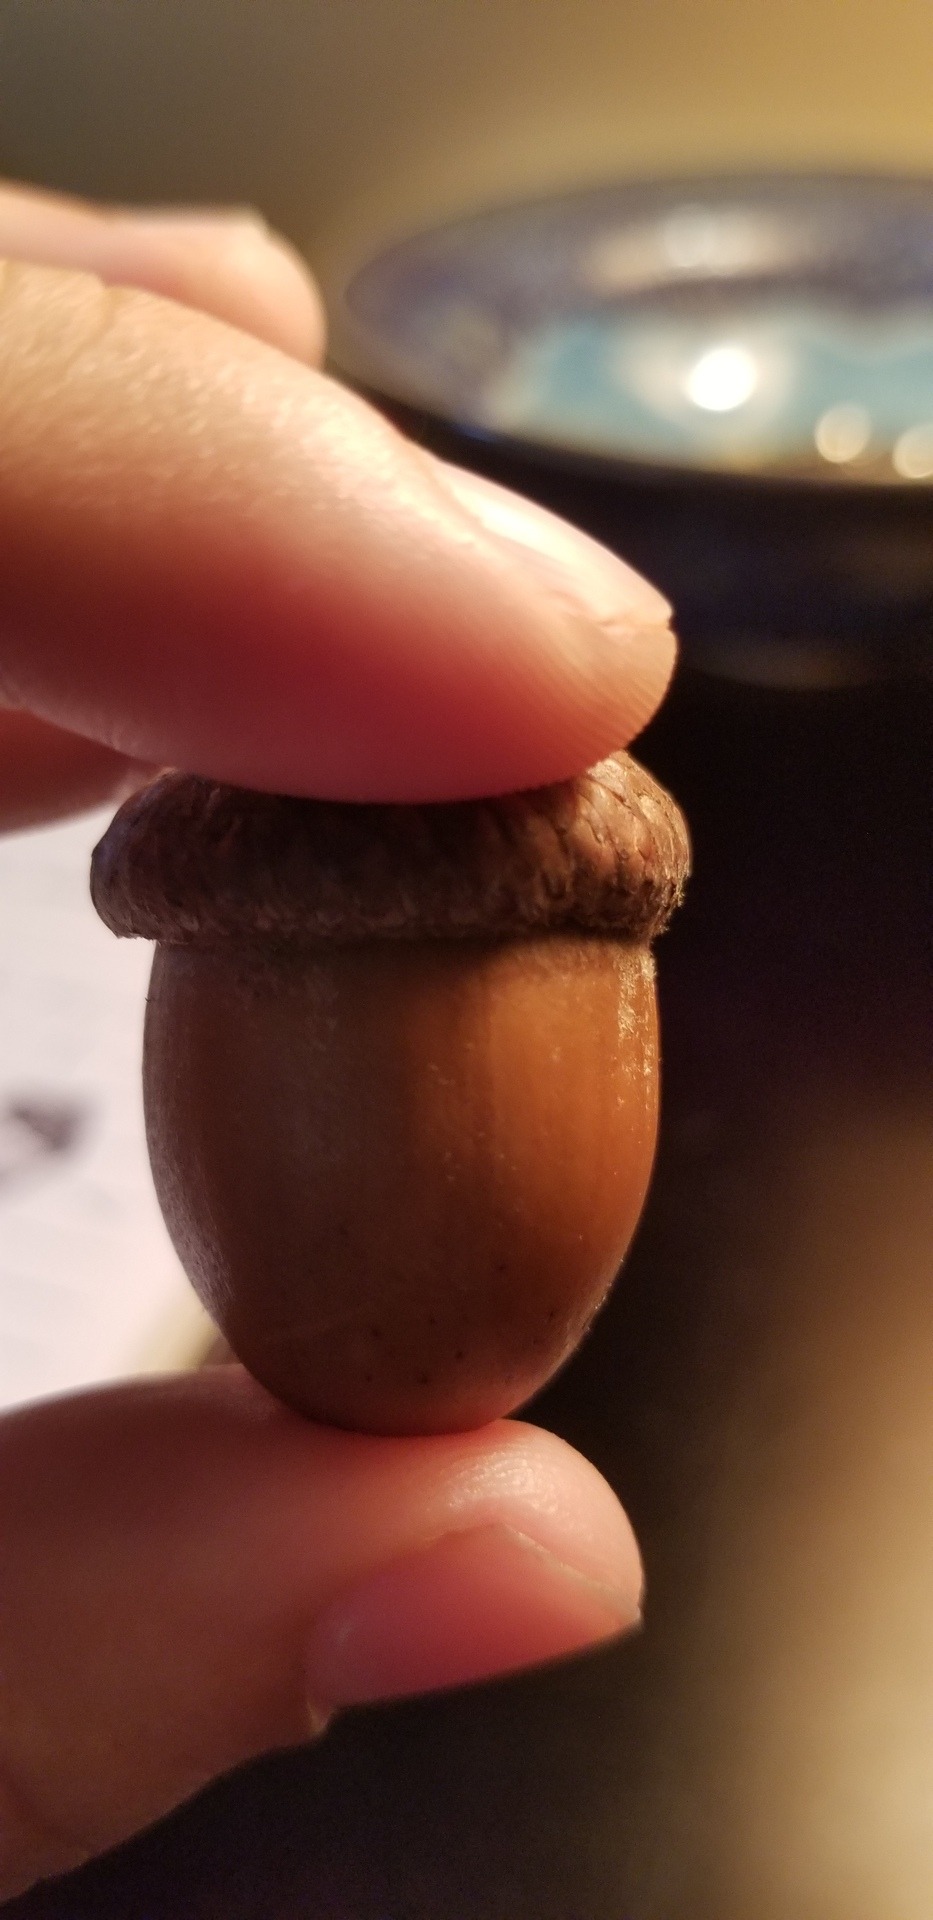
So I took my own idea and tried out an acorn charm! I’m an empath, so I made this one to help me stay grounded when surrounded by people!!
Ingredients:
(1) acorn, any size – associated with success, luck, and wishes.
(1) drill with a small bit.
(1) Xacto knife.
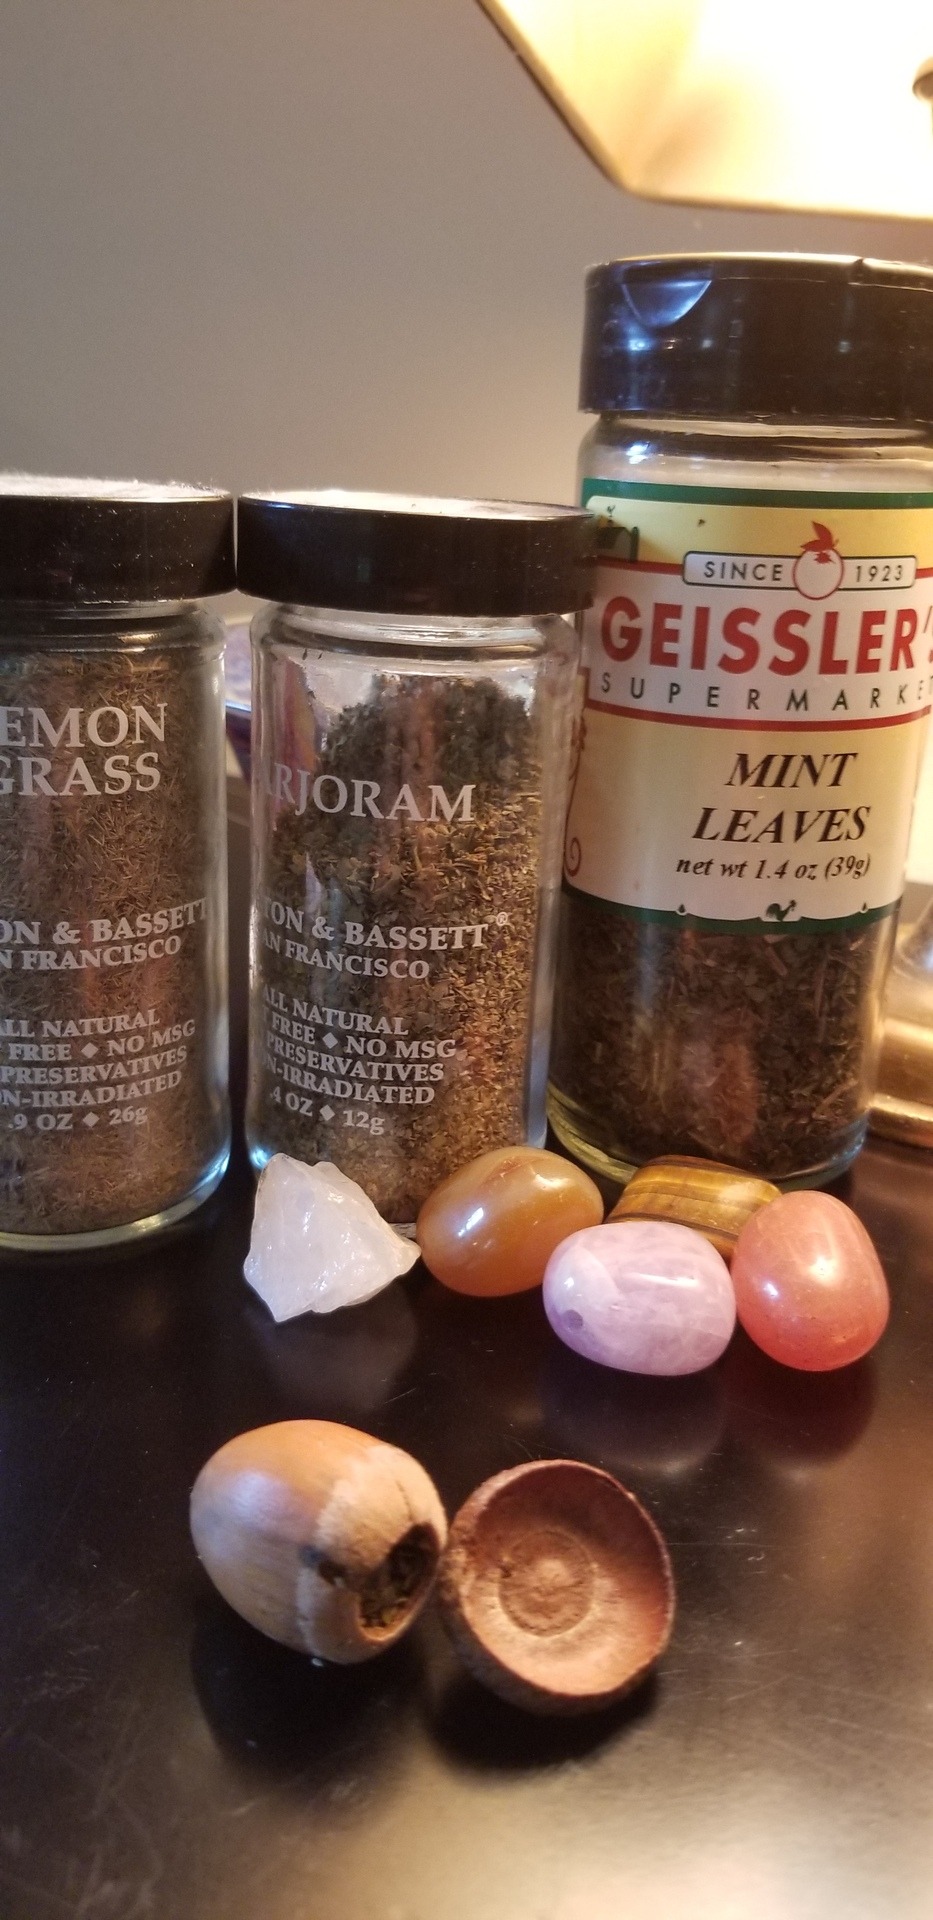
Assorted gem chips and herbs associated with your intent – I used amethyst, tiger’s eye, quartz, citrine, and carnelian for gems; marjoram, mint leaf, and lemon grass for herb.
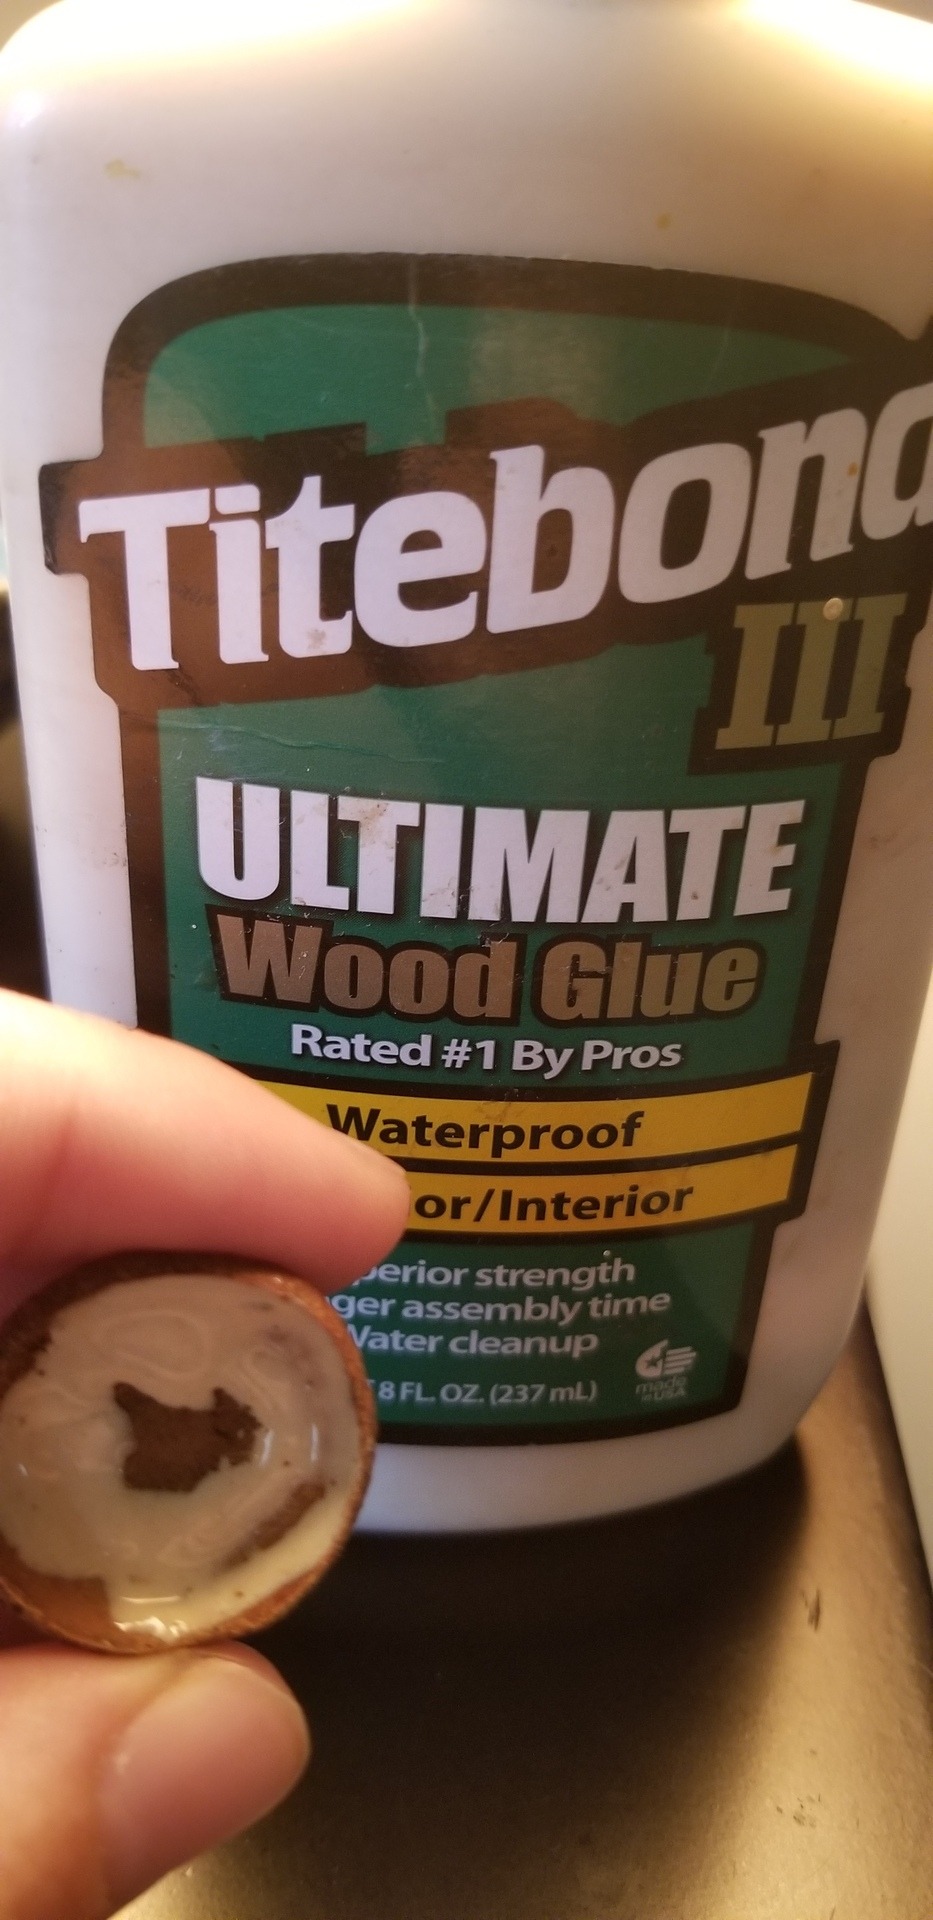
Glue.
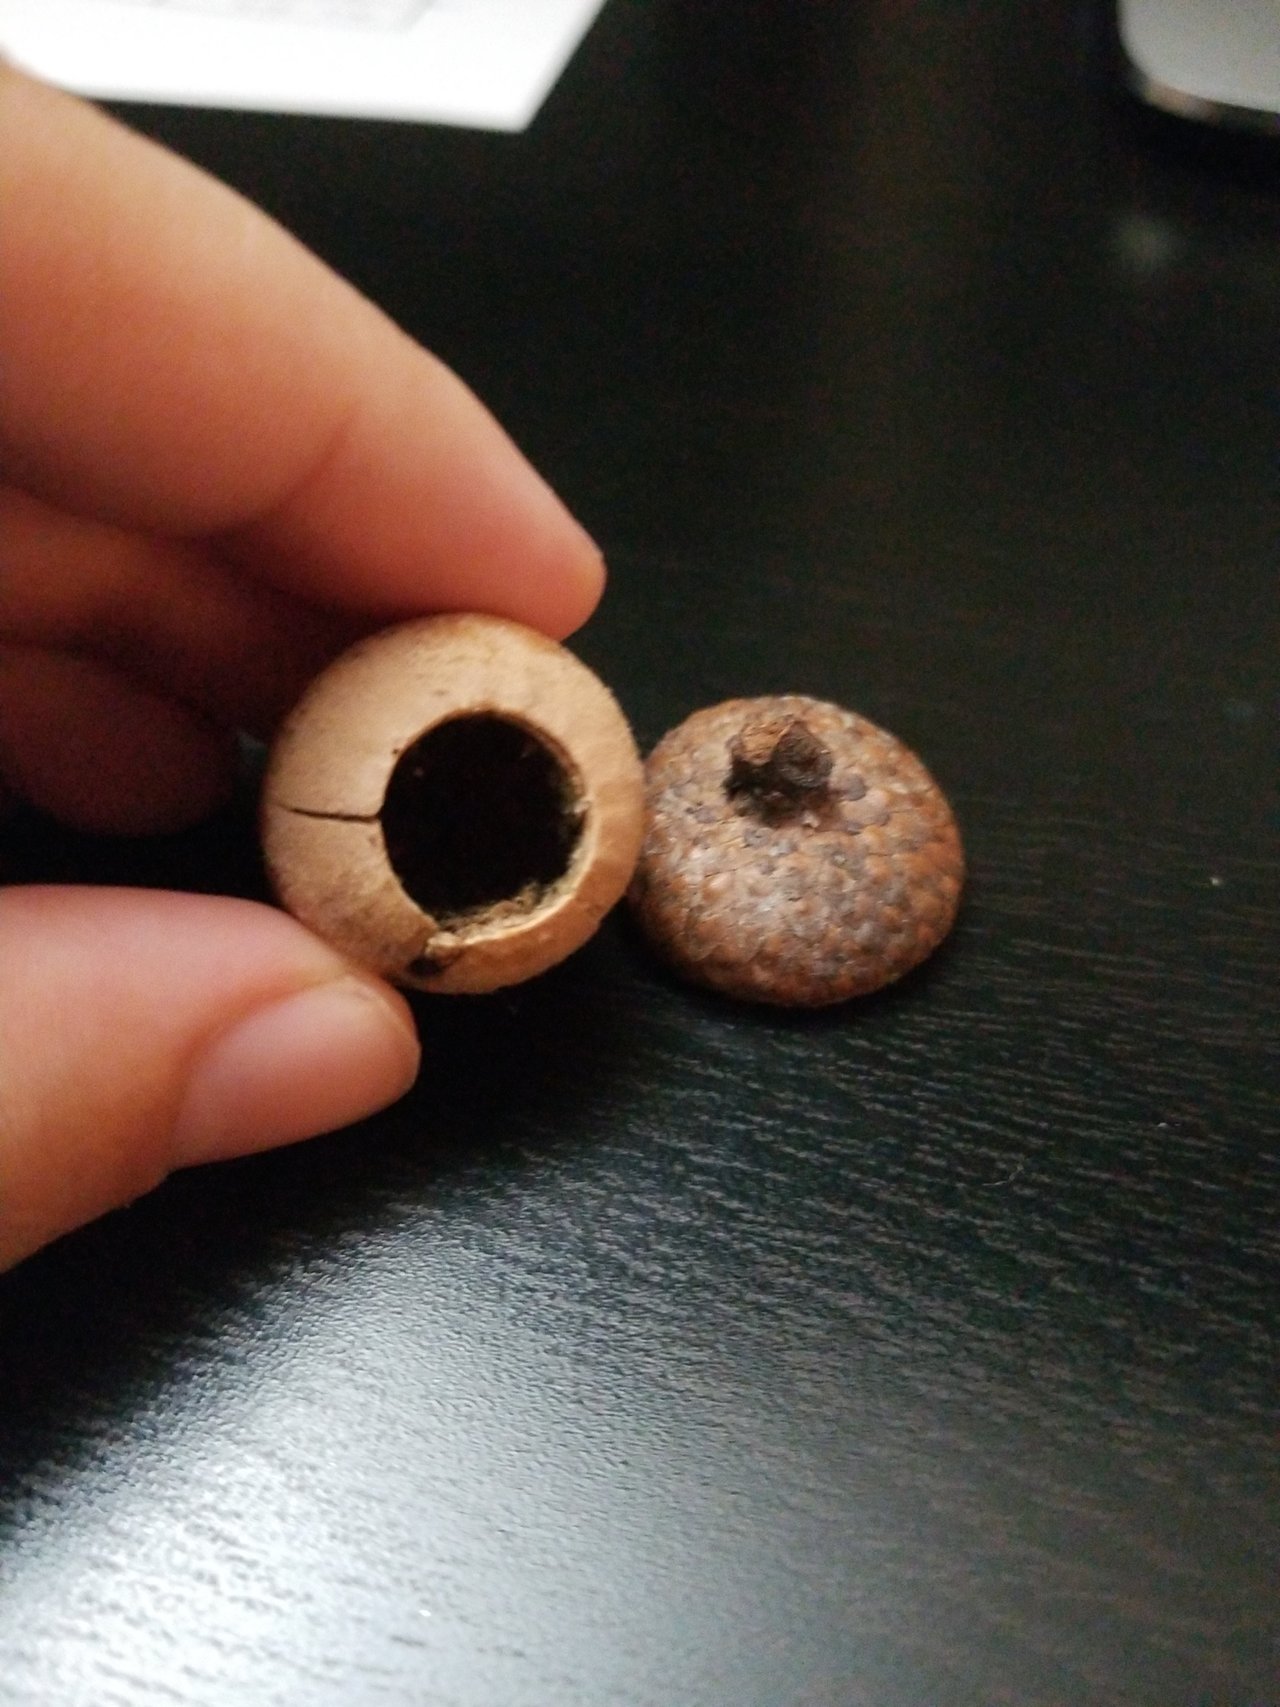
Prep: Gently remove the cap from the acorn. Using a drill or knife, carefully hollow out the center of the acorn, aka the nut. Use an xacto knife or similar to scoop out the rest of the nut (as a discord friend informed me, this part of the acorn is soft and will rot over time, so make sure you get all of it!!!).
Stuff your now hollow acorn with your herb and gem chips while focusing on your intent. Allow the energy to flow for as long as you feel necessary. Apply your glue to the inside of the acorn’s cap and press it gently back onto the top. Imagine it “sealing” your intent inside. Leave the glue to dry.
Casting: Once dry, charge or activate the charm as you normally would. Done!
I’m excited to try out these charms this fall!!! In theory, they should be easy to make, concealable in travel alters, bags, pockets, or worn as jewelry, and safe to dispose of if you like to bury your charms in nature.
Feel free to use and let me know if they work out for you!!
If you’re like me, and like to bring your earthy witchcraft with you this is the DIY for you.
cost breakdown and materials:
✨ Wood box – $2.99 from craft store (but most stores have coupons)
✨ Stain – $4.99 (a small bottle will last you forever)
✨ Moss – $5 from a craft store (I’m sure you can fine it somewhere cheaper)
(side note: I don’t recommend getting it from the ground. It can lead to mold/bugs/allergy issues)
✨ Hot glue
✨ Acrylic Paint and brushes
Prep your box by sanding down any rough edges, removing any stickers, as well as making sure it’s dry and clean.
Stain your box. You can use a rag or brush to apply stain. Read the directions on your stain bottle, and wipe off extra stain. I love wood stain.
The latch has an eagle on it 🙂
After your stain is dry prep for the sky. You can prep with gesso or just white acrylic paint. This will make your colors pop more. I just dove in with painting, but if you want really crisp border lines use masking tape.
While waiting for the white to dry I hot glued in some moss. It takes the glue really well, but retains its fluffiness.
Add your night sky. To avoid having to paint tons of layers because your paint is transparent, ad a little white in. For the sky I mixed white, black, and blue, and left it a little unblended for a foggy feel.
Ad stars. I chose Cassiopeia, Polaris, and the Big Dipper. Use a tooth pic to get small dots.
Add in your items. I didn’t have a tea candle so I made a temporary candle from a shell. I also added some jars for herbs and a couple of crystals.
I made a pentagram for my altar during the New moon in the beginning of this July and I thought I’d share the process with you. I went completely on intuition on this one, not following any spell or rulebook but I’m really happy with how it turned out!
I was making a spell candle for the Imbolc ritual I’m hosting for the coven tomorrow and figured: why not turn it into a little tutorial? So here is my version of the spell candles!
What you need: (note: I made a candle for creativity and inspiration, so everything matches that goal. Change herbs, colours and stones to match any goal you want/need!)
🕯 a base candle, either white or a colour that works for your goal
🕯 through-and-though coloured candles for dripping in colours that match your goal. I usually use two or three, in this case yellow for happiness and inspiration and orange for creativity
🕯 herbs, I used basil (creativity), rose (passion/motivation), mistletoe (fertility for ideas) and mugwort (creativity)
🕯 small stone chips, I used aventurine, citrine and burnt amethyst (all for creativity)
🕯 oils, I used jasmine (creativity)
🕯 ribbon and charm (optional, but pretty!)
🕯 baking paper to protect your work surface
Start with carving some words or symbols into the candle. Today I used a bindrune for creativity, the runes kenaz (inner fire), wunjo (happiness) and gebo (gift).
Now drip the first colour. Make sure to first go around the edges for the pretty drips and then fill in the top.
Next are the herbs, stones and oil. Simply sprinkle them on top and arrange the bigger pieces so they are spread out a bit. Press the stones gently down into the still soft wax for sturdyness.
Drip the last colour, making sure to set but not drown the herbs, and tadaa! One pretty spellcandle! But wait, there’s more!
Tie the ribbon around the candle with one knot.
Slide on your charm and knot again, fitting it snuggly against the candle.
Make a pretty bow and trim the ends,and you’re done!
Burn it during your spell (note: remove the ribbon before it catches and reuse it!), place it on your altar or even make them to give away as gifts!
Also, feel free to tag me if you make one with the tutorial, I’d love to see them! 🌙